
A home extension planning tool is a browser-based app that lets you draw your extension to scale, test furniture fit, and export a floor plan to share with builders — before any building work begins.
In this article
- Why You Need a Floor Plan Before Your Extension Begins
- What the Free Room Planner Can Do for Extension Planning
- Step 1 — Measure Your Existing Home Footprint
- Step 2 — Draw Your Current Layout in the Free Room Planner
- Step 3 — Add Your Extension to the Plan
- Step 4 — Test Your Layout and Furniture Fit
- Step 5 — Export and Share Your Extension Floor Plan
- Key Planning Decisions to Make Before You Build
- Common Home Extension Planning Mistakes (and How to Avoid Them)
- Frequently Asked Questions
- Conclusion: Start Your Extension Plan Today — For Free
- Related reading
Planning an extension means dozens of decisions before a single brick goes down. Most people never see what the finished space will feel like until it's too late to change cheaply. That's where things go wrong — wrong dimensions, cramped rooms, a kitchen island that blocks the only walkway.
The Free Room Planner fixes this. It's a free, no-sign-up, browser-based home extension planning tool that lets you draw your new layout to scale, try different configurations, and send a clean floor plan straight to your builder. No CAD training. No download. No cost.
This guide walks you through the whole process — measuring, drawing, testing, and sharing — plus the key decisions every homeowner needs to settle before work starts.

Why You Need a Floor Plan Before Your Extension Begins
A floor plan turns vague ideas into precise instructions. Without one, you're relying on conversations and rough sketches — and that's how expensive mistakes creep in. A drawn, to-scale layout keeps you, your builder, and your planning authority working from the same picture.
The cost of a last-minute layout change
Moving a wall on paper takes seconds. Moving it once foundations are poured costs real money and days of delay. Every change you spot early on a floor plan is a change you never pay a builder to redo.
How a floor plan improves builder communication
Builders quote and work from measurements, not adjectives. Hand over an accurate layout and your quote gets tighter, your brief gets clearer, and the risk of "that's not what I meant" drops sharply. Our guide on how to brief a builder with a floor plan covers this in detail.
What planning authorities expect to see
Most planning applications need existing and proposed floor plans drawn to scale. A rough doodle won't pass. Drawing your layout early gives you a head start — and a clear reference for the professional drawings you may need later.
What the Free Room Planner Can Do for Extension Planning
The Free Room Planner handles the full pre-construction preview stage: drawing new rooms, setting exact dimensions, adding furniture to test fit, and exporting a clean image to share. Everything runs in your browser — free floor plan software with no download and no account.
Draw to scale with snap-to-grid accuracy
Every wall snaps to a 10cm grid, so the measurements you share are actually accurate. Live measurements update as you drag, which means you learn how to draw floor plans accurately without any technical guesswork.
Add walls, doors, and windows for the new extension space
Draw the new external walls, drop in doors, and mark window openings. This shows exactly how the extension connects to your existing rooms — and where light and access will come from.
Test furniture fit in the extended room before build
Drag in sofas, beds, kitchen units, and tables. Move furniture around on screen before you move it in real life. If the dining table leaves no room to pull out a chair, you'll spot it now, not on moving day.
Export and share your floor plan with builders or designers
Export your finished layout as a clean PNG in one click. Send it by email, print it, or attach it to a quote request. Your contractor gets an accurate layout with real dimensions — not a sketch that leads to surprises.
Step 1 — Measure Your Existing Home Footprint
Measure before you draw. Accurate measurements of your current space are the foundation everything else attaches to — get these right and the rest is easy.
What measurements you need before you start
Start with the outside dimensions of the wall your extension will join, then work inward:
- Overall length and width of the relevant floor.
- Each internal wall length in the affected rooms.
- Width and position of existing doors and windows.
- Ceiling height (useful for loft and garage conversions).
- Position of fixed features — chimney breasts, boilers, soil pipes.
How to measure an irregular or non-rectangular footprint
Break an awkward shape into rectangles. Measure each block separately, then note how they join. A bay window or angled wall becomes two or three simple measurements rather than one impossible one.
Recording your measurements: a simple reference sheet approach
Sketch a rough outline on paper and write each measurement directly onto the relevant wall. Keep it beside you when you open the tool. This one habit prevents the most common planning error — guessing a number you meant to check.
Step 2 — Draw Your Current Layout in the Free Room Planner
Draw your existing home first. This baseline shows how the new space slots in and keeps proportions honest across the whole plan.
Setting your scale and grid before drawing
Open the planner and confirm your units — metres or feet. The snap-to-grid keeps every line true to scale, so a 4-metre wall reads as exactly 4 metres. Set this before you draw a single line.
Drawing external walls and internal partitions
Trace your external walls first, following the measurements on your reference sheet. Add internal partitions next. Watch the live measurements as you go and adjust any wall that drifts off your recorded figure.
Placing existing doors, windows, and fixed features
Drop doors and windows into their real positions. Mark fixed features like the chimney or boiler — these often dictate where your extension can and can't open through. Our full walkthrough on how Free Room Planner works covers each control.
Step 3 — Add Your Extension to the Plan
Now extend the footprint. Draw the new walls outward from your existing layout, set the extension's dimensions, and connect it to the rooms it opens into.
Rear extension: how to add a new room behind the existing footprint
Extend the rear wall outward to your planned depth. Draw the new external walls, then remove or open the original rear wall where the two spaces will join. Check the new room's width against your garden boundary early.
Side-return extension: drawing a narrower infill addition
Draw a narrow strip along the side return, joining the existing wall. These additions are slim, so test the resulting room width carefully — a side return often transforms a cramped galley kitchen into an open, usable space. See our small kitchen layout ideas with an island for extended-kitchen inspiration.
Loft conversion: planning the new upper-floor room layout
Draw the loft footprint, then mark where the roof slope cuts into usable height. Position the staircase early — it eats more floor space than most people expect. Our loft and single-storey extension guide goes deeper on this.
Garage conversion: repurposing an attached garage as living space
Use the garage's existing footprint as your room outline. As a garage conversion planner, mark where the garage door opening becomes a wall or window, and plan for insulation reducing internal dimensions slightly. Then test whether your intended use — office, bedroom, snug — actually fits.
Step 4 — Test Your Layout and Furniture Fit
Drop in furniture and walk through the space on screen. This is where you find out whether the extension works in practice, not just on paper.
Checking circulation space and door swing clearance
Leave clear walkways of at least 60–75cm between furniture. Check every door has room to swing open without hitting a unit or the furniture behind it. Cramped circulation is the fault people notice every single day after a build.
Testing kitchen or dining layouts in an extended space
Place units, appliances, and the dining table. Confirm you can open the oven and dishwasher fully, and pull chairs out around the table. Our guide on how to plan a kitchen renovation pairs well with an extended-kitchen layout.
Bedroom and bathroom fit for loft or garage conversions
Drop in a bed, wardrobes, and any bathroom fixtures. For lofts, keep tall furniture under the full-height zone. Use the furniture arrangement tool online to test a few configurations before you settle.
Step 5 — Export and Share Your Extension Floor Plan
Export your plan as a clean image and send it to everyone who needs it. This single file becomes your reference for quotes, briefings, and applications.
How to export your floor plan from the Free Room Planner
Click export and save your layout as a PNG. The image shows walls, dimensions, and furniture exactly as you drew them — ready to email, print, or drop into a document.
What to send to your builder alongside the floor plan
Send the plan plus a short note listing what's existing versus new, your rough budget, and any must-haves. This turns a vague enquiry into a quote-ready brief and speeds up every conversation that follows.
Using your floor plan as a basis for a planning application drawing
Your exported plan is a strong starting point for the scaled drawings a planning application needs. Hand it to a draughtsperson or architect and you'll save time — they refine your layout rather than starting from a blank page.
Key Planning Decisions to Make Before You Build
A floor plan solves the layout. These decisions solve everything else — settle them before spades hit the ground.
Permitted development or full planning permission: how to check
Many UK extensions fall under permitted development, meaning no full application is needed — but limits on size, height, and position apply. Check your local planning portal or ask your council before assuming. Rules vary by property type and location.
Party wall agreements: when you need one
If you're building near or against a shared boundary, you may need a party wall agreement with your neighbour. Sort this early. A delayed agreement can stall a build for weeks.
Structural and foundation considerations: what to ask your builder
Ask your builder about foundation depth, steel beams for knocked-through walls, and drainage runs. These affect both cost and timeline. Structural questions need a qualified professional — your floor plan gives them the context to answer accurately.
Setting a realistic extension budget
Build a budget with a genuine contingency — many homeowners find setting aside an extra portion for surprises saves real stress mid-build. Price the layout you actually drew, not a smaller idea in your head.
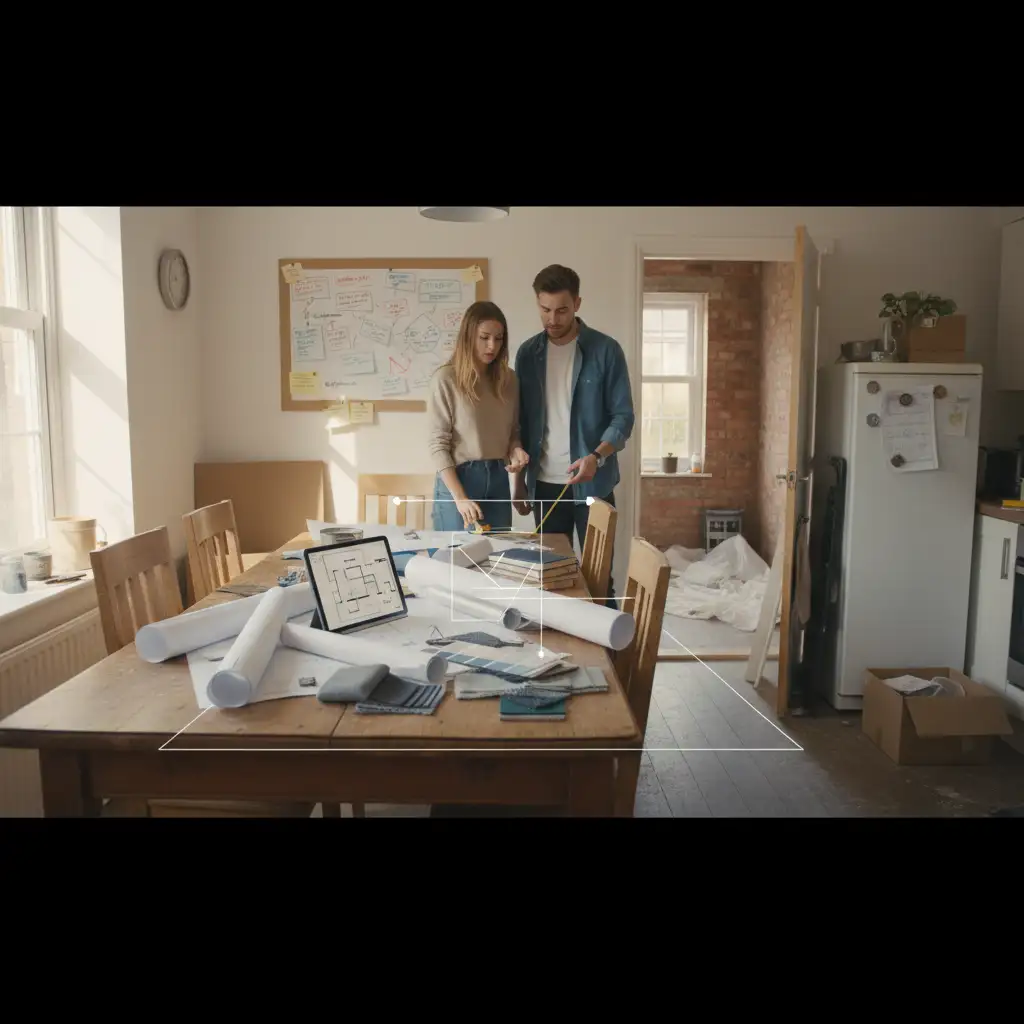
Common Home Extension Planning Mistakes (and How to Avoid Them)
Most extension regrets trace back to the planning stage. Avoid these four and you'll dodge the errors that cost the most to fix later.
Measuring the wrong things (or not measuring at all)
Guessing dimensions is the classic mistake. Measure twice, record everything, and draw to those exact figures. The snap-to-grid keeps your plan honest so a small error doesn't snowball.
Designing for the build, not for how you will actually live in the space
A room that looks big on paper can feel useless if the flow is wrong. Test furniture, walkways, and daily routines in the planner before committing. Picture carrying shopping from the door to the fridge.
Forgetting about natural light and window placement
Extensions can leave existing rooms dark. Plan windows, rooflights, and glazed doors deliberately, and mark them on your layout. Light is far cheaper to plan for than to add afterwards.
Underestimating the timeline and disruption
Extensions take longer and disrupt more than people expect. Plan where you'll cook, wash, and sleep during the works. Knowing this upfront keeps the project bearable.
Frequently Asked Questions
Quick answers to the questions homeowners ask most when planning an extension.
Is the Free Room Planner really free for extension planning?
Yes. The Free Room Planner is completely free with no sign-up, no download, and no payment. You can draw your existing layout, add your extension, test furniture, and export a floor plan without spending anything.
Can I use this tool for a loft or garage conversion?
Absolutely. Draw the existing footprint of your loft or garage, mark usable height and door openings, then test whether your intended room fits. It works as both a loft conversion planning tool and a garage conversion planner.
Do I need to download any software?
No. It's browser-based free floor plan software with no download required. Open it in your browser on a laptop, tablet, or phone and start drawing straight away.
Can I use my floor plan for a planning application?
Your exported plan is an accurate, to-scale starting point that a draughtsperson or architect can refine into formal application drawings. It saves professional time and helps everyone work from your actual layout.
How accurate are the measurements?
Every wall snaps to a 10cm grid with live measurements that update as you draw. As long as you enter your real measurements, the plan stays true to scale — accurate enough to brief a builder confidently.
Conclusion: Start Your Extension Plan Today — For Free
Planning an extension well comes down to five steps: measure your space, draw your current layout, add the extension, test the fit, then export and share. Get these right before you build and you avoid the costly changes that catch most homeowners out.
The Free Room Planner handles all five — free, no sign-up, no download, straight in your browser. Compare it with other options in our roundup of the best free room planning tools for renovators or see why it ranks among the best free online room designers.
Open the planner, draw your walls, and start shaping your extension today.