
A utility room layout with a washer dryer works best when you leave at least 5cm of breathing room around each appliance, place the units near existing plumbing, and keep a clear worktop for folding.
By Free Room Planner Team · Last updated: July 2026Most utility room problems start on paper. You measure the wall, buy the units, then discover the washer door won't open past the sink. Frustrating — and expensive to fix once the pipes are in.
So before you commit to anything, sketch the room to scale and test your washer-dryer placement first. You can do this free in a browser, no sign-up, in about ten minutes. Here's the practical way to plan it.
Start With Accurate Measurements
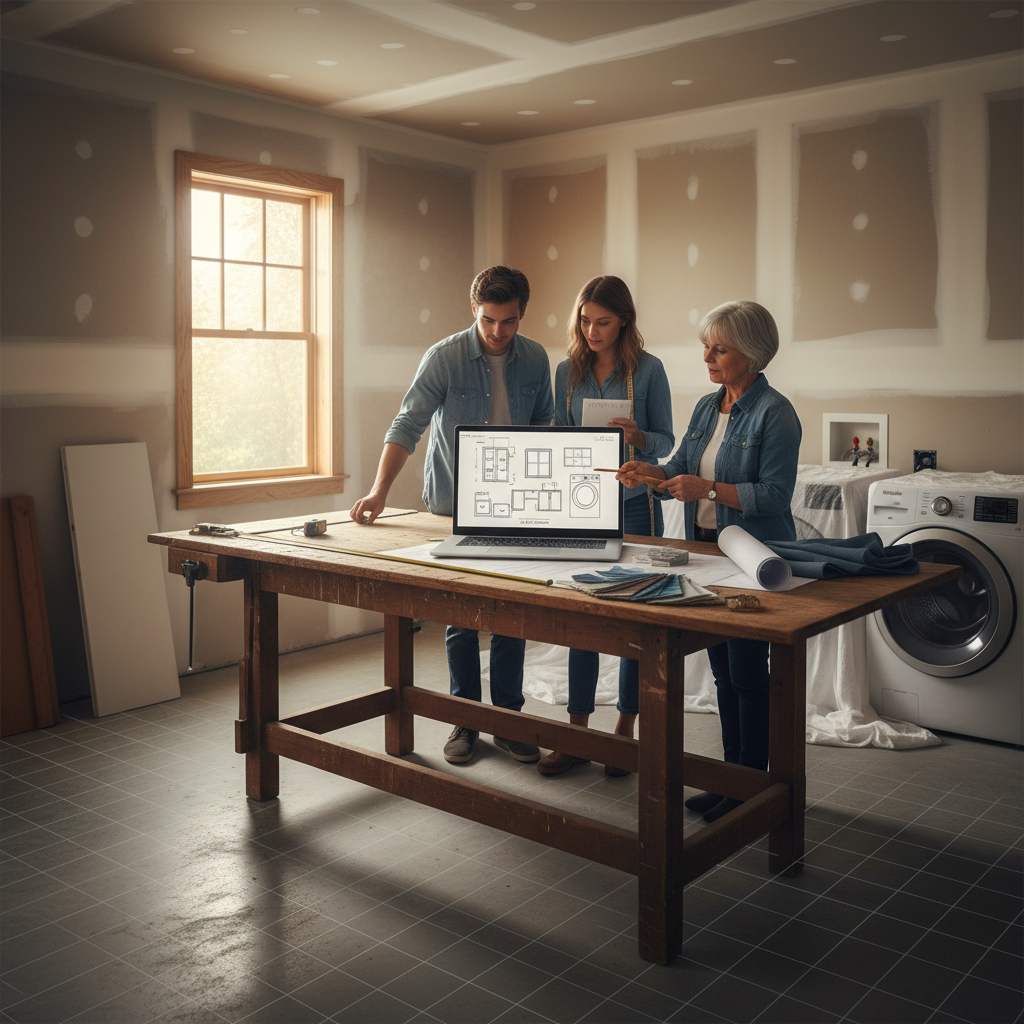
Grab a tape measure and record three things for every wall: length, ceiling height, and the position of doors, windows, and existing plumbing. Note where your water supply, waste pipe, and electrical socket already sit — moving them is the single biggest hidden cost in any utility room.
Write each measurement in centimetres. Then draw the room to scale so the layout you plan actually fits the space you have. A snap-to-grid planner keeps every wall true, so the plan you hand your fitter carries real dimensions — not a rough guess.
How much space does a washer and dryer need?
A standard freestanding washing machine or dryer measures roughly 60cm wide, 60cm deep, and 85cm high. Leave 5cm of clearance on each side for airflow and vibration, and allow at least 90cm of clear floor in front so the door opens fully and you can load without crouching sideways.
For two appliances side by side, budget around 130cm of wall run. Stack them in a column and you free up half that width — more on that below.
Choose Your Washer-Dryer Configuration
Three layouts cover almost every utility room. Pick the one that matches your wall space and how much you hate bending down.
Side by side
The simplest setup. Two 60cm appliances sit next to each other under a continuous worktop, giving you a folding surface on top. You need about 130cm of uninterrupted wall and a nearby waste pipe for both. Best for wider rooms and anyone who wants counter space.
Stacked
Dryer sits on top of the washer, held by a stacking kit. This halves the floor footprint to a single 60cm bay — ideal for galley utility rooms or a cupboard. Check the ceiling height first: a stacked pair reaches roughly 170cm, so a wall cabinet above needs to sit higher than usual.
Integrated behind units
Appliances hide behind cabinet doors for a seamless, kitchen-style finish. You lose a little internal depth to the door mechanism, so measure carefully. This suits people who want the utility room to read as clean storage rather than a laundry.
| Configuration | Wall space needed | Best for |
|---|---|---|
| Side by side | ~130cm | Worktop and folding space |
| Stacked | ~60cm | Narrow or galley rooms |
| Integrated | ~65cm per bay | Seamless, hidden look |
Plan the Zones Around Your Appliances
A utility room does more than wash clothes. Map it in four zones so nothing competes for the same square metre.
- Wash zone — washer, dryer, and detergent storage within arm's reach.
- Sink zone — a utility sink beside the washer for hand-washing and soaking, sharing the same waste run.
- Dry zone — a drying bar, retractable rack, or hanging rod above a section of floor you can leave clear.
- Fold and store zone — worktop plus cabinets or open shelving for baskets, linens, and cleaning supplies.
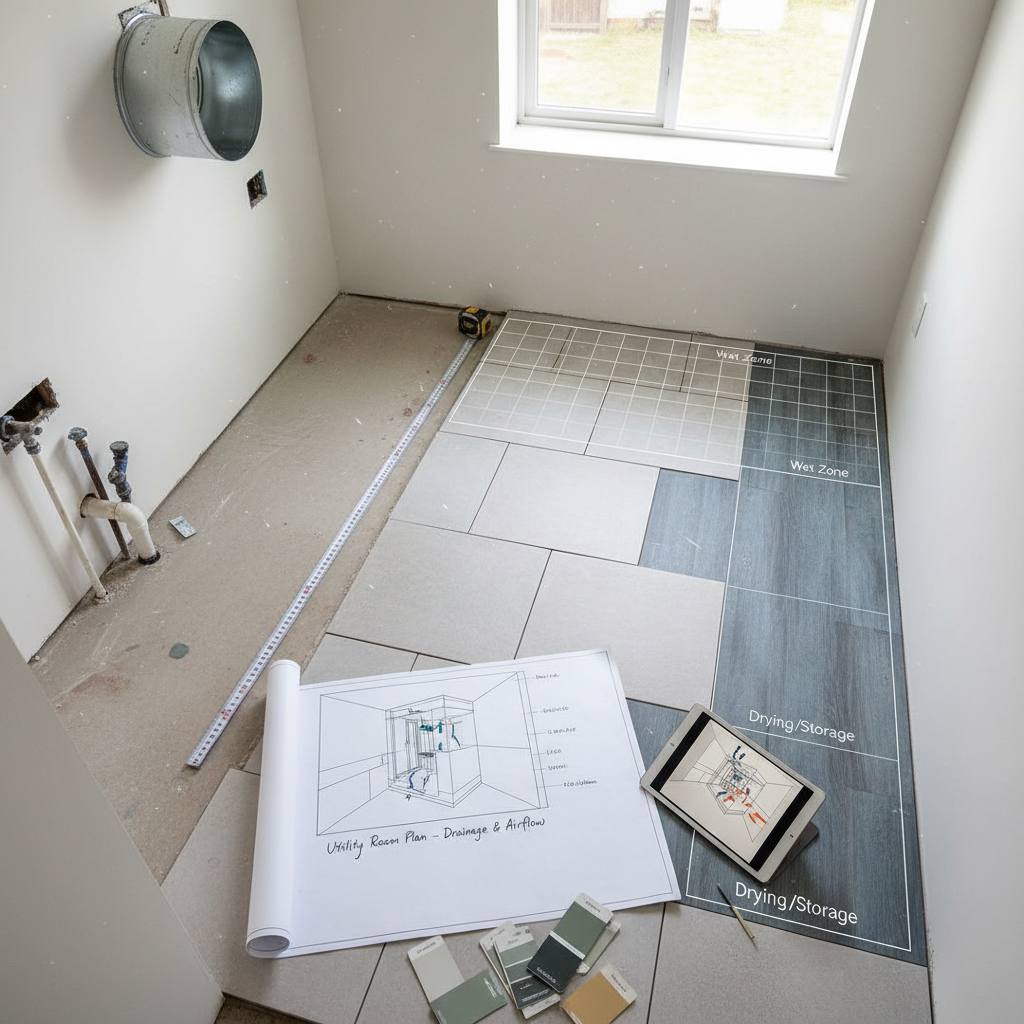
Keep the wet zones (sink, washer) grouped so all plumbing lives on one wall. Position the dry zone away from the door swing. And leave a 90cm walkway down the middle if the room is a galley.
What flooring and ventilation should you plan for?
Choose a water-resistant floor — vinyl, tile, or sealed laminate — because a leaking washer hose is a when, not an if. Vented tumble dryers need a duct to an outside wall, so mark that route early; condenser and heat-pump dryers skip the duct but still want airflow, so avoid boxing them into a sealed cupboard.
Work these details into your plan before the fit. Retro-fitting a vent through a finished wall is messy and costly.
Draw It Free Before You Buy Anything
Here's the step that saves the money. Test every configuration on screen before a single unit arrives.
- Open a browser-based planner and set your room dimensions to scale.
- Drop in blocks for the washer, dryer, sink, and worktop at real sizes.
- Drag and resize each one, watching the live measurements update.
- Check the door swings and the 90cm walkway still work.
- Export a clean PNG and send it to your fitter or appliance installer.
Because the grid snaps to real dimensions, your contractor gets an accurate brief instead of a napkin sketch. The same free-floor-plan approach works for any room — no download, no fee.
If your utility doubles as a laundry-bathroom combo, our guides on compact bathroom arrangements for a 6x8 space and the browser bathroom designer with no download walk through the wet-zone plumbing in more detail. For a full room walkthrough, try the bathroom space planner.
Frequently Asked Questions
Short answers to the questions homeowners ask most when planning a utility room.
Can a washer and dryer fit in a small utility room?
Yes. Stack the dryer on the washer to shrink the footprint to a single 60cm bay, freeing wall space for a sink and storage. A room as narrow as 120cm deep works if you keep a 90cm clearance in front for loading.
Should the washer or dryer go on the left?
Put the washer nearest the waste pipe and water supply to keep plumbing runs short. Order between the two rarely matters for function — plan it around your existing pipework and which appliance door swings clear of the sink.
Do I need a utility sink next to the washer?
A utility sink is handy for soaking, hand-washing, and rinsing, and it shares the same waste run as the washer, so plumbing stays simple. It's optional, though — skip it if wall space is tight and you'd rather have a folding worktop.
How do I draw a utility room floor plan accurately?
Measure every wall in centimetres, note door and window positions, then plot it on a snap-to-grid planner so each line reflects the true dimension. Add appliances at real sizes, check the door clearances, and export the plan to share with your fitter.
Is free floor plan software good enough for a utility room?
For most homeowners, yes. Free browser-based planners let you set scale, place appliances, and read live measurements without any download — plenty accurate for briefing a contractor and avoiding costly fitting mistakes.