
A well-planned kitchen pantry layout groups items into storage zones, matches shelf depth to what you actually store, and uses full wall height to fit more in the same footprint.
By Free Room Planner Team · Last updated: July 2026Most pantries fail for one reason: people fill them by chance, not by plan. Stuff goes where it fits, deep shelves swallow tins you never see again, and half the vertical space sits empty above your head. You can fix all of that before you buy a single shelf.
This guide walks you through planning a pantry layout that holds more, stays arranged, and gives your fitter a clear brief. Measure first, plan on screen, then build.
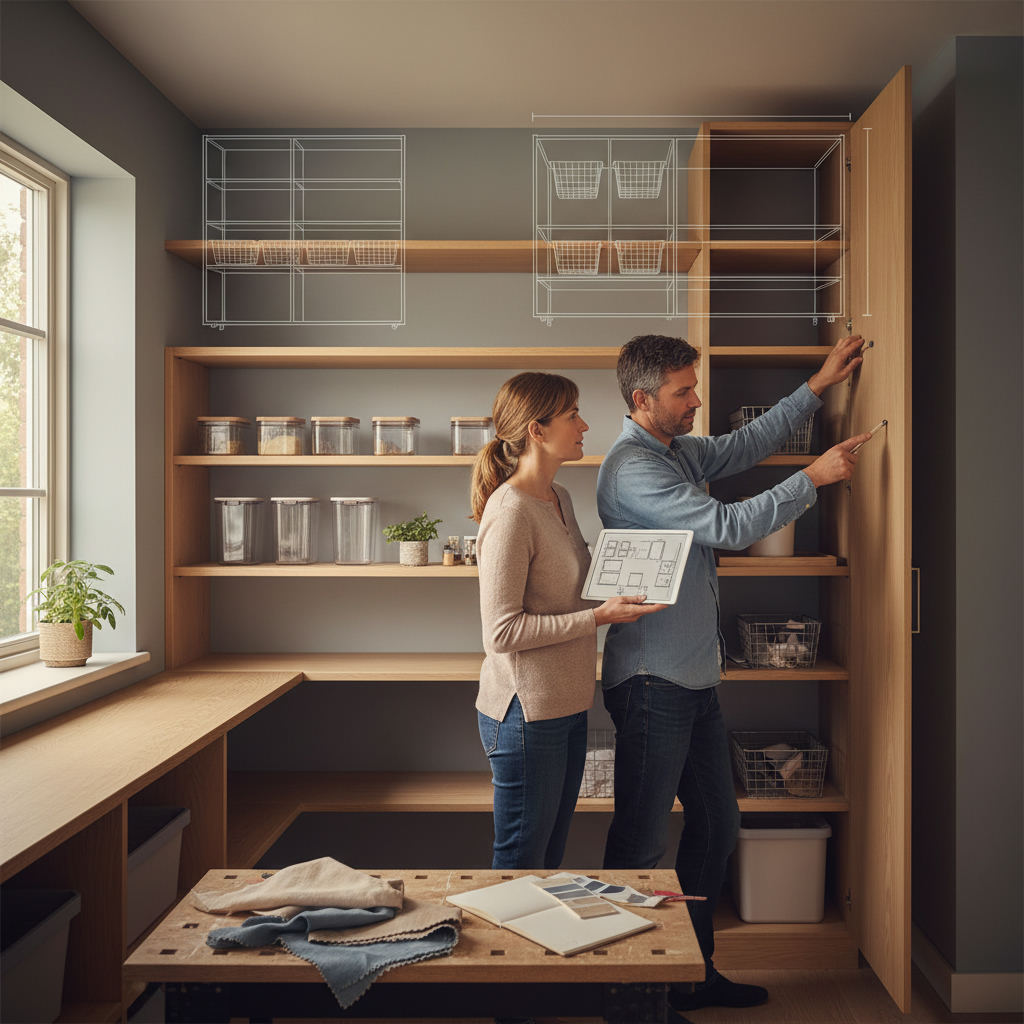
What makes a pantry layout hold the most storage?
Maximum pantry storage comes from three things: shallow shelves so nothing hides at the back, adjustable heights so you waste no gaps, and clear zones so every item has a home. Depth matters more than most people think.
Deep shelves feel generous but bury food. A shelf 30cm deep holds two rows of tins you can see. A shelf 60cm deep holds four rows and hides the back two forever. Shallow-and-tall almost always beats deep-and-few.
Step 1: Measure your pantry space accurately
Start with a tape measure and note every dimension in one place.
- Measure the width, depth, and full height of the pantry or cupboard.
- Mark the position of the door and which way it swings.
- Note any obstructions — pipes, sockets, sloped ceilings, radiators.
- Record window positions if it's a walk-in room.
- Measure your tallest and bulkiest items — cereal boxes, blenders, that stand mixer.
Write everything down as you go. Guessing a single measurement is how a shelf ends up 3cm too shallow for your food processor. If you're unsure how to capture dimensions cleanly, our guide on drawing accurate room dimensions walks through the method.
Step 2: Divide the pantry into storage zones
Zones stop clutter before it starts. Group similar items together and give each group a fixed spot so restocking becomes automatic. Here's a layout that works in almost any pantry, from a closet-style cupboard to a full walk-in.
| Zone | Best shelf height | What goes here |
|---|---|---|
| Eye level | 140-170cm | Everyday snacks, cereals, items you grab daily |
| Mid shelves | 90-140cm | Tins, jars, dry goods, baking supplies |
| Lower shelves | 40-90cm | Heavy bulk buys, large bottles, appliances |
| Floor level | 0-40cm | Bins, crates, bulk packs, recycling |
| Above head | 170cm+ | Rarely-used items, seasonal bakeware, spares |
Keep the heaviest things low. Reserve the awkward top shelf for things you touch twice a year, not the pasta you cook on Tuesdays.
Step 3: Match shelf depth and spacing to your items
One fixed shelf height wastes space. A tin needs 15cm of clearance; a cereal box needs 35cm. Fixed shelves force you to store tall items on their side or leave dead air above short ones.
Aim for a mix:
- Shallow shelves (20-30cm deep) for spices, tins, and jars — nothing hides.
- Deeper shelves (40-50cm deep) near the floor for appliances and bulk packs.
- Adjustable brackets so you can retune spacing as your habits change.
A narrow spice rack on the back of the door adds storage you'd otherwise lose entirely. In a walk-in pantry, run shallow shelving up both side walls rather than one deep bank — you'll see everything at a glance.

Step 4: Plan it on screen before you build
Here's where a floor plan saves you money. Draw your pantry to scale, drop in shelf runs at real depths, and test whether your stand mixer clears the shelf above before anyone cuts timber.
With the free kitchen layout planner, you draw walls to your exact measurements, snap shelves to a 10cm grid, and export a clean plan as a PNG. No sign-up, no download, no software to learn. Your fitter gets accurate dimensions instead of a rough sketch.
Seeing the layout on screen catches the mistakes paper hides — a door that swings into a shelf, a socket buried behind cabinetry, a run of shelving that leaves 8cm of useless gap.
Common pantry layout mistakes to avoid
The biggest mistake is building deep shelves everywhere. You lose everything at the back and pay for storage you can't use.
Other traps worth dodging:
- Ignoring the door. Back-of-door racks and correct swing direction reclaim real space.
- Fixed shelving. Your needs change; your shelves should too.
- Skipping the vertical. Empty air above shelves is free storage you already own.
- No zones. Without a system, a tidy pantry lasts about a week.
Frequently Asked Questions
Quick answers to the questions homeowners ask most when planning a pantry.
How deep should pantry shelves be for maximum storage?
Most pantry shelves work best at 20-40cm deep. Shallow shelves keep everything visible so nothing gets lost at the back. Reserve deeper shelves of 40-50cm for the lowest level, where appliances and bulk packs live.
What is the best pantry layout for a small kitchen?
For a small kitchen, a floor-to-ceiling cupboard with shallow, adjustable shelves and a back-of-door rack holds the most. Use zones by height, keep everyday items at eye level, and store heavy or bulk items low. Vertical space is your biggest win.
How do I plan a pantry layout without expensive design software?
Use a free browser-based planner. Measure your space, draw the walls to scale, add shelf runs at real depths, and export a plan to share with your fitter. Tools like the Free Room Planner need no download or sign-up, so you can plan and share in minutes.
What is the difference between a walk-in and closet-style pantry layout?
A walk-in pantry lets you shelve multiple walls, so run shallow shelving up both sides for full visibility. A closet-style pantry has one shelving bank, so rank adjustable heights and door storage to squeeze in more without losing sight of items.
Should pantry shelves be fixed or adjustable?
Adjustable shelves almost always win. Your storage needs shift over time, and adjustable brackets let you retune spacing to match tall boxes or short jars. Fixed shelves waste vertical space and force awkward stacking.
Ready to map it out? Draw your pantry to scale, test your shelf depths, and send an accurate plan to your fitter. You can also apply the same zone-based method to other rooms — see the best free online bathroom planners for a similar approach.