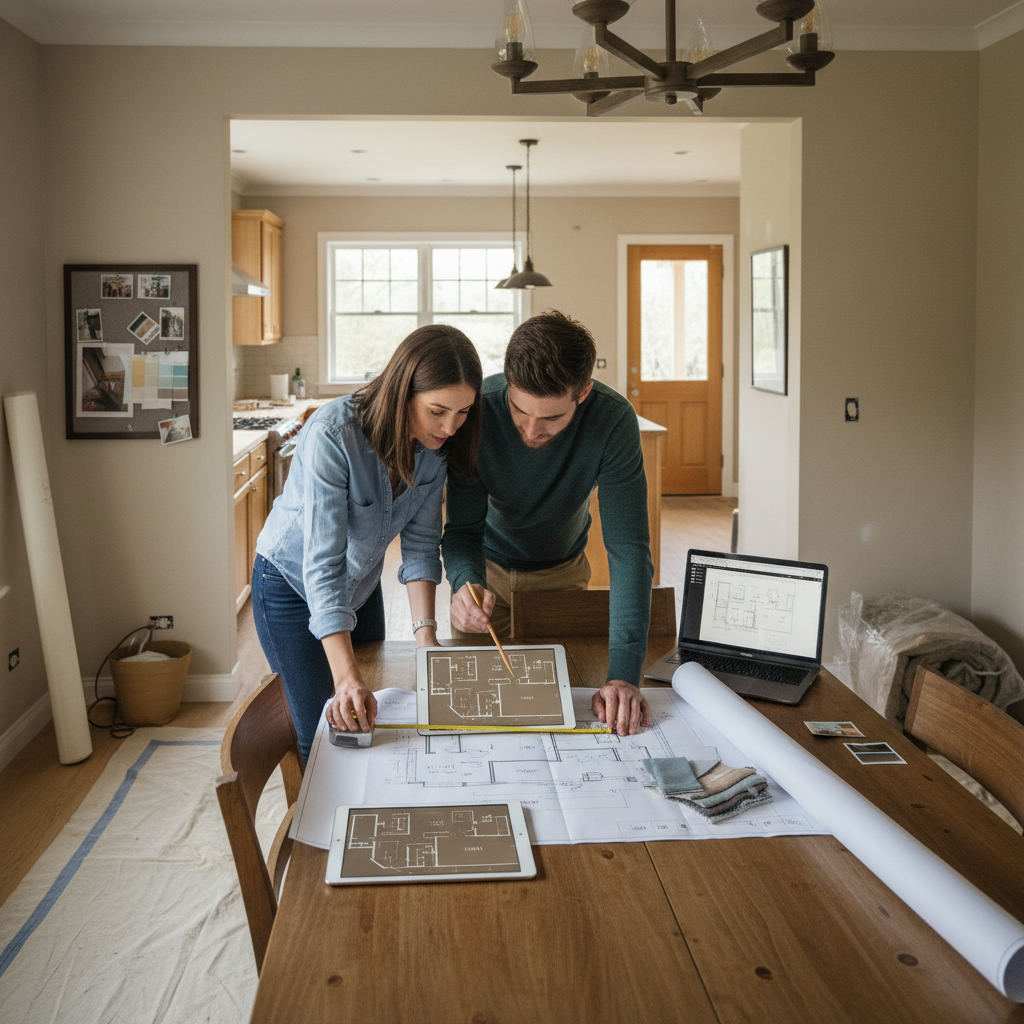
Most free room planners handle one room at a time. But real homes don't work that way. Your kitchen connects to the dining area; a hallway links three bedrooms; an open-plan layout blurs the line between living and cooking. Planning rooms in isolation means you'll miss the problems that only show up at the joins. This guide walks through the exact workflow for planning multiple connected rooms in a browser — no download, no account, no cost. By the end, you'll confidently create a complete, to-scale multi-room floor plan ready to share with a contractor or fitter.
By Free Room Planner Team · Last updated: July 2026TL;DR: Multi-room floor planning in a browser requires a specific sequence: measure every room and doorway before you start, draw an anchor room first, extend shared walls outward, and check scale consistency throughout. Free browser tools like Free Room Planner handle this without any sign-up or download. Export as a PNG and share directly with your builder or fitter.
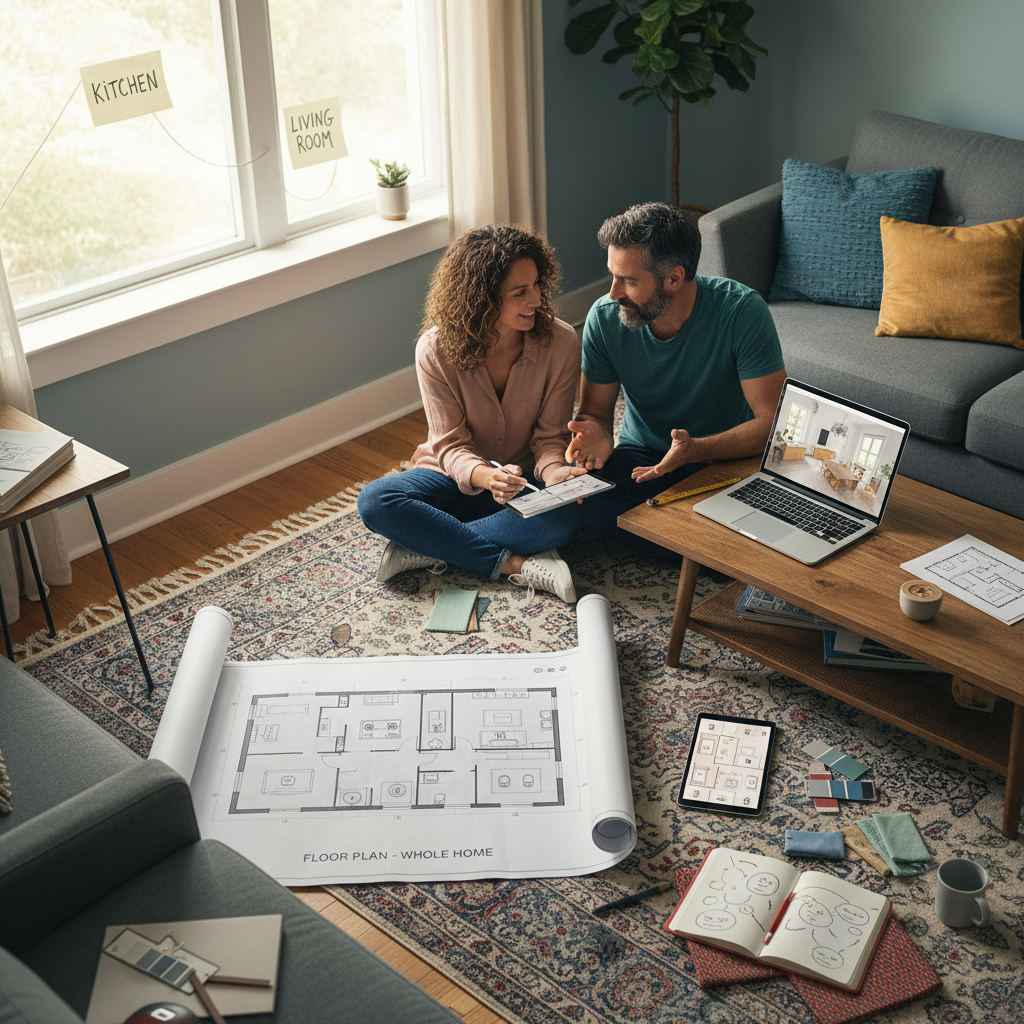
Why Multi-Room Planning Is Different From Single-Room Design
Planning a single room is straightforward — four walls, some furniture, done. Add a second room and everything changes. Connected rooms share walls, doorways, and traffic paths. A mistake in room one compounds in room two.
The scale problem across connected spaces
The most common error is drawing rooms at inconsistent scales. A bedroom that looks right in isolation might be drawn 10% larger than the adjacent hallway, making the whole plan useless for a contractor. Every room must share the same grid from the start — not approximately the same, exactly the same.
Practical tip: Before drawing anything, decide your scale unit and stick to it. In most browser-based floor plan tools, the snap-to-grid feature locks every wall to fixed increments, which prevents scale drift between rooms.
Doorways, thresholds, and shared walls
A shared wall between two rooms is drawn once, not twice. Draw it again and you've created a phantom gap — a space that doesn't exist in reality but looks like a corridor on your plan. Doorways need consistent positioning on both sides of the threshold, or a fitter will read the plan incorrectly.
Traffic flow and how rooms relate to each other
Single-room plans don't show movement. Multi-room plans do. Where does someone walk when they leave the kitchen? Does that path clash with the sofa? These questions are invisible in a room-by-room approach but obvious in a connected layout.
What To Measure Before You Open Any Browser Tool
Arrive at the tool ready to work. Spending ten minutes measuring in advance saves an hour of redrawing.
Room-by-room dimension checklist
For each room, record: total length and width, ceiling height (useful for noting door heights), and the position of any fixed features like radiators or windows. Use a tape measure and write dimensions in centimetres for consistency.
Recording doorway positions and widths
For each doorway, note: the width of the opening, the distance from the doorway to the nearest corner, and which way the door swings. Standard internal door widths in the UK typically fall between 76 cm and 82 cm (roughly 80 cm as a working figure), though this varies by property age and style. Measure yours — don't assume.
Practical tip: Photograph each wall with a measuring tape laid along the floor. You'll have a visual record to refer back to without re-entering the room.
Sketching a rough connection map on paper first
Before opening any tool, spend two minutes sketching a rough diagram of which rooms connect to which. Label each room and draw a line where each shared wall or doorway sits. This becomes your build sequence — your map for the order in which you'll draw rooms in the browser.
How To Set Up Your Browser-Based Floor Plan For Multiple Rooms
A browser-based tool like Free Room Planner requires no sign-up, no download, and no payment. Open it directly in your browser and you're ready to build.
Choosing your starting room (the anchor room)
Pick the largest or most central room as your anchor — usually the kitchen, living room, or main hallway. Every other room extends from this one. Drawing from the centre outward keeps the plan proportionally balanced and makes it easier to spot misalignments early.
Setting scale and snap-to-grid before drawing anything
Most browser floor plan tools offer a snap-to-grid function that locks walls to fixed measurement increments. Enable this before drawing your first wall. It's the single most important step for keeping scale consistent across every room you add.
Naming and labelling rooms as you build
Label each room as soon as you complete it — 'Kitchen', 'Living Room', 'Hallway 1'. Plans with labelled rooms are significantly easier for a contractor or fitter to read than unlabelled boxes.
Drawing Each Room In Sequence: A Step-By-Step Workflow
Follow this sequence and you'll build a connected layout rather than a collection of isolated boxes. This is the core workflow.
- Draw and complete the anchor room fully. Add all four walls, mark every doorway and window, and place the major furniture pieces before moving on. Completing the anchor room fully prevents you from having to revise it later when an adjacent room reveals a conflict.
- Extend shared walls to attach the next room. Don't draw a new set of walls that happen to sit next to the anchor room. Extend the existing wall of the anchor room to form the shared boundary. This keeps the two rooms genuinely connected in the plan, with no phantom gap.
- Add doorways and openings between rooms. Mark the doorway position on the shared wall using the measurements you recorded. Check that the opening width matches your real measurement. Add the door swing direction — this matters for furniture placement on both sides.
- Repeat outward until all rooms are connected. Work from the anchor room outward, one room at a time, following your connection map. Don't skip ahead to a non-adjacent room — always attach to a room you've already drawn.
Keeping Scale Consistent Across Every Room
Scale drift is silent. You won't notice it room by room — you'll notice it when the whole plan looks wrong and you can't explain why. Two techniques prevent it.
Using a reference object as a scale check
A standard sofa is roughly 180–200 cm wide; a standard single bed is around 90 cm wide; a standard interior door is roughly 80 cm wide. After drawing each new room, place one of these reference objects in it and check whether it looks proportionally correct against the anchor room. If the sofa looks enormous in the bedroom and tiny in the living room, your scale has drifted. These are conventional working estimates — always cross-reference against your own measurements.
How snap-to-grid prevents cumulative measurement errors
Each time you draw a wall freehand, small inaccuracies compound. Snap-to-grid eliminates this by rounding every wall endpoint to the nearest grid increment. The result is a plan where walls are genuinely aligned, not approximately aligned. For a multi-room plan that a fitter will work from, this distinction matters.
When to restart a room rather than adjust it
If a room is more than 5–10% out of scale with its neighbours, redraw it from scratch. Adjusting a badly scaled room is slower than redrawing it, and adjustments often introduce new misalignments in adjacent rooms.
Adding Furniture To A Multi-Room Layout Without Cluttering The Plan
Add furniture in order of importance to traffic flow, not in order of size or personal preference. For guidance on furniture placement specifically, the furniture arrangement tool online guide covers this in detail.
Rank flow-blocking furniture first
Sofas, dining tables, and beds determine whether people can move freely between rooms. Add these first. A sofa placed across a natural walking path between the living room and the kitchen will be visible immediately in a connected plan — and fixable before anything is moved in real life.
Leaving circulation paths clear between rooms
As a general guide, corridors and doorway approaches need enough clearance for comfortable movement — typically somewhere in the range of 80–100 cm is cited as comfortable by most interior planning resources, though this is a practical convention rather than a regulatory requirement. Check your own doorway measurements against the furniture you're placing nearby.
Using the plan to spot furniture conflicts before buying
A connected floor plan shows conflicts that a single-room plan hides. A wardrobe that fits in the bedroom might block the door swing from the landing. A dining table that works in isolation might make the kitchen-diner feel impassable. Spot these on screen, not on delivery day.

Checking Traffic Flow and Room-To-Room Movement
Before you export, do one final review.
The walk-through test: tracing daily movement paths
Trace the routes you use most: waking up and going to the kitchen, moving from the living room to the bathroom, carrying shopping in from the front door. For each route, check that doorways are wide enough, that furniture doesn't block the path, and that no room feels like a dead end. Adjust anything that creates a pinch point.
Common flow problems and quick fixes
- Door swings that clash with furniture: flip the door swing direction, or move the nearest piece of furniture 30–40 cm.
- Narrow corridor feel in open-plan spaces: reduce the size of the dining table or reposition it parallel to the wall.
- Isolated rooms: check that every room has at least two clear entry and exit routes where possible.
Exporting and Sharing Your Multi-Room Floor Plan
Once the plan is complete, export it as a clean image file and send it directly to your builder, contractor, or fitter.
What file format works best for sharing with contractors
A PNG file is the most universally readable format — it opens on any device without specialist software. Most browser-based floor plan tools export as PNG by default. Avoid saving as a screenshot; the exported file will be higher resolution and easier to read at scale.
Adding notes and measurements to the exported image
Before sharing, annotate the plan with key dimensions — total room lengths, doorway widths, and any fixed features the contractor needs to work around. You can add text notes directly in many browser tools, or add them in a basic image editor after export.
How a clear floor plan reduces back-and-forth with tradespeople
Contractors and fitters price jobs and order materials based on the information you give them. A labelled, to-scale multi-room floor plan with key measurements eliminates most of the 'can you just confirm the width of...' messages. It also gives both sides a shared reference point if questions arise mid-project.
For kitchen-specific planning, the kitchen renovation planning guide covers how to communicate layout choices to a fitter in detail.
Conclusion and Next Steps
Multi-room planning has a learning curve — but it's a short one. Measure every room and doorway before you start. Draw your anchor room first, extend shared walls outward, and check scale against a reference object after each room. Keep furniture additions focused on traffic flow. Then export and share.
The entire process is free, browser-based, and requires no account. Open Free Room Planner directly in your browser and start with your anchor room. Your contractor or fitter gets a clear, to-scale plan — and you get fewer surprises on the day the work begins.
For related guides, see how to picture your bathroom layout before renovating or explore virtual room layout creator tools for single-room planning.
Frequently Asked Questions
Here are the questions homeowners most often ask when starting a multi-room floor plan in a browser.
Can I plan multiple rooms in a browser without downloading any software?
Yes. Browser-based floor plan tools run entirely in your web browser, with no installation required. Tools like Free Room Planner open instantly and let you draw, connect, and export multi-room layouts without any download or account creation.
How do I keep rooms to the same scale when planning multiple spaces?
Enable snap-to-grid before drawing your first wall and keep it on throughout. Snap-to-grid locks every wall endpoint to fixed measurement increments, preventing the small inaccuracies that compound into scale drift across connected rooms. Cross-check each new room against a reference object — a standard door or sofa — to catch any drift early.
What measurements do I need before I start a multi-room floor plan?
For each room: total length and width. For each doorway: opening width and distance from the nearest corner. Photograph each wall with a measuring tape along the floor for reference. Sketch a rough diagram of which rooms connect before opening the browser tool.
Is a browser floor plan good enough to share with a contractor or fitter?
Yes, provided it is to scale and clearly labelled. Export as a PNG, add key dimensions as annotations, and label every room. A clean, labelled floor plan gives contractors and fitters the layout reference they need to price accurately and plan the work — far more useful than a hand-drawn sketch or verbal description.
Do I need to draw every room, or just the rooms I'm renovating?
Draw every room that connects to the spaces you're changing. A kitchen renovation that affects an adjoining dining area needs both rooms in the plan — shared walls, doorway positions, and furniture in the dining area all affect what the fitter can do in the kitchen. Isolated single-room plans miss these dependencies.