
Most people planning a renovation hit the same wall early on: they need accurate room dimensions, but a full designer consultation feels like overkill just to get some numbers down. The good news? You can draw accurate room dimensions without hiring a professional — and you can do it in under an hour with tools you probably already own.
By Free Room Planner Team · Last updated: July 2026TL;DR: Grab a tape measure, sketch your room on paper first, measure every wall and feature in a set order, record everything clearly, then enter those measurements into a free browser-based floor plan tool to get a shareable plan ready for your contractor or fitter.
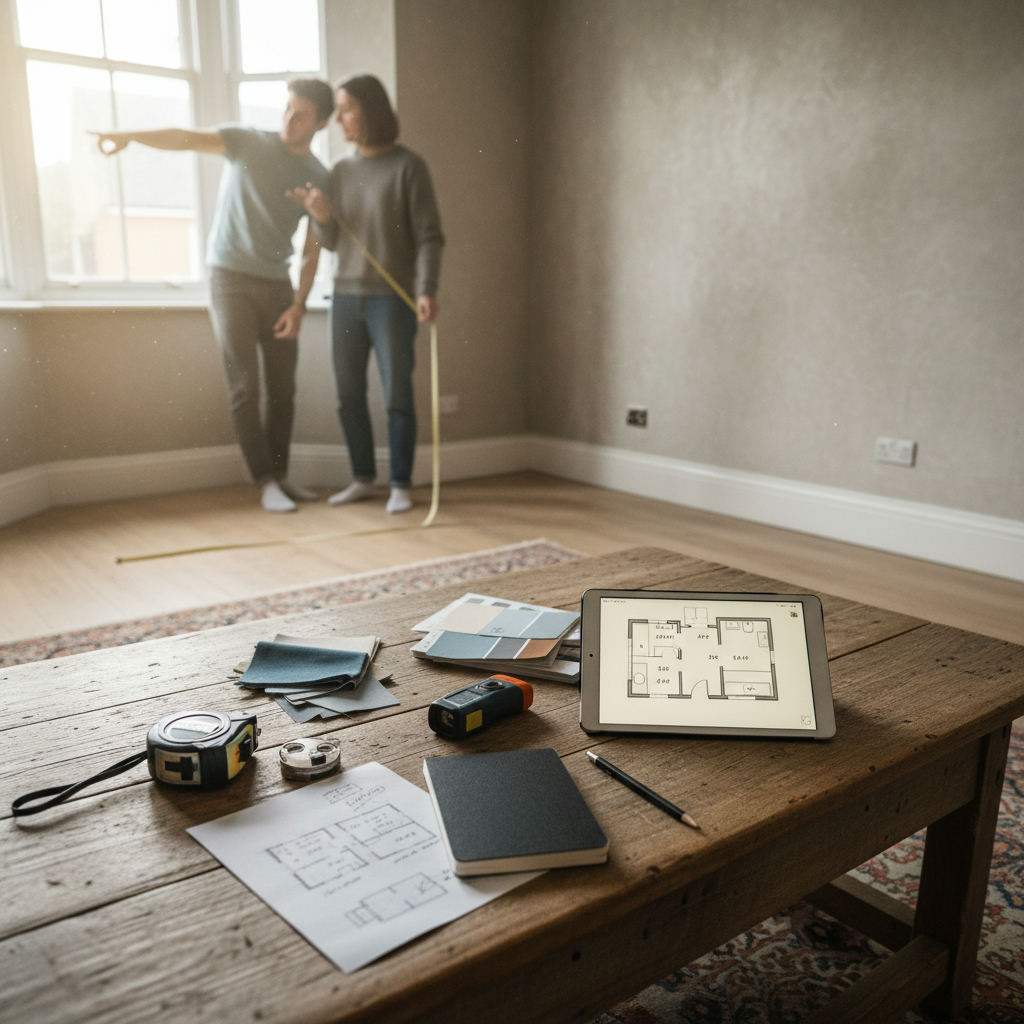
What You Need Before You Start
Before you measure a single wall, gather everything in one place. Stopping mid-measure to hunt for a pencil is how errors creep in.
- Tape measure (5m or longer) or a laser measurer
- Pencil and eraser
- Graph paper or a plain notepad
- A smartphone or laptop (for the digital step later)
- A second person, if possible — helpful for long walls
Tape Measure vs Laser Measurer
A standard tape measure costs a few pounds or dollars and works perfectly for DIY measuring. The limitation: holding one end against a wall solo is awkward for rooms over 4m wide.
A laser measurer solves that instantly. You point it at the opposite wall and get a reading in seconds — ideal for solo measuring. Either tool gives you the accuracy you need. Choose whichever you have access to.
How to Sketch Your Room Before You Measure
Don't pick up the tape measure yet. Draw first.
A rough freehand outline of your room — even a wobbly, imperfect one — gives you a reference sheet to write measurements on as you go. Without it, you end up with a list of numbers and no idea which wall they belong to.
Here's what to draw on your sketch:
- The outer walls of the room as a basic shape
- Every door (mark which way it swings)
- Every window (mark the approximate position along the wall)
- Fixed features: radiators, chimney breasts, alcoves, built-in storage, soil pipes
It doesn't need to be to scale. It just needs to be clear enough that you can label it without confusion. Think of it as a map, not a masterpiece.
How to Measure Your Room Step by Step
Work around the room in one direction — clockwise or anti-clockwise, whichever feels natural. Don't jump around. Going in order means nothing gets missed.
- Measure the overall length and width. Take these first, wall to wall, at floor level.
- Measure ceiling height. Measure in at least two corners — ceilings aren't always level.
- Measure each wall individually. Go around the room, recording every wall's length on your sketch.
- Measure door openings. Record the width of the opening, the height, and the distance from the nearest corner.
- Measure window openings. Same approach: width, height, and distance from the nearest corner. Also note the sill height from the floor.
- Measure alcoves and recesses. Treat each one as a smaller rectangle within the room.
- Measure fixed features. Note the position and size of radiators, pipes, or anything else that affects furniture placement.
Measure every wall twice. Write the second number next to the first. If they match, move on. If they don't, measure a third time.
Measuring Doors and Windows Accurately
Contractors and fitters rely on these numbers more than most homeowners realise. A door measurement recorded to the nearest wall corner tells a fitter exactly where a run of cabinets has to stop.
For each door and window, record three things:
- Opening width (the gap between the frames)
- Opening height (from floor or sill to the top of the frame)
- Distance from the nearest corner (measured to the inside edge of the frame)
For doors, also note which way the door swings and how wide the swing arc is. A door that swings 90 degrees into a room needs clearance — and forgetting that is one of the most common layout mistakes people make.
Measuring Alcoves, Recesses, and Awkward Corners
Non-rectangular rooms trip people up, but the fix is straightforward: break the room into rectangles.
A chimney breast, for example, creates a recess on each side. Measure the full wall width first, then measure the chimney breast width and how far it projects into the room. Those three numbers let you rebuild the shape accurately on paper or in a floor plan tool.
For bay windows, measure each section of the bay as a separate wall segment, noting the angle between them if possible. Even an approximate angle helps when you're placing furniture around it.
Common Measuring Mistakes to Avoid
These errors show up again and again — and most of them cost real money when they reach the contractor stage.
- Measuring to the skirting board, not the wall. Skirting boards can add 15–20mm to a measurement. Always measure to the bare wall surface.
- Forgetting ceiling height. Critical for tall furniture, shelving, and anything built-in.
- Skipping door swing clearance. A door that opens into a kitchen run or bathroom fixture causes expensive rework.
- Not labelling which wall a measurement belongs to. A list of unlabelled numbers is useless. Write each measurement directly on your sketch next to the relevant wall.
- Measuring only once. Always measure twice. Tape measures slip, fingers slip, and attention wanders.
For a fuller look at how layout errors translate into real renovation problems, the guide on planning a kitchen renovation step by step covers this in more depth.
How to Record Your Measurements So They Are Easy to Use
Good measurements recorded badly are almost as frustrating as bad measurements. A contractor who can't read your sketch will ask you to re-measure.
Follow these habits:
- Pick one unit system and stick to it. Either metric or imperial throughout — never mix them on the same sketch.
- Write measurements on the sketch, not in a separate list. Each number sits next to the wall or feature it belongs to.
- Use arrows or brackets to show exactly what each measurement spans.
- Take a photo of the finished sketch before you move anything or leave the room. Sketches get coffee spilled on them.
- Note the date and which room it is in the top corner of the page.
If you measured two rooms, keep the sketches separate. One sketch per room, clearly labelled.
How to Turn Your Sketch Into a Digital Floor Plan for Free
You've got a labelled sketch with all your measurements. Now turn it into something a contractor or fitter can actually use.
Free Room Planner is a browser-based tool that lets you enter your room dimensions, add walls, doors, windows, and furniture, and export a clean floor plan as an image — no sign-up, no download, free.
Here's how the process works:
- Open freeroomplanner.com in any browser on your phone or laptop.
- Start a new room and enter your wall dimensions from your sketch.
- Add doors and windows in the positions you measured.
- Add furniture to check placement and spacing.
- Export the plan as a PNG image.
- Send it directly to your contractor, fitter, or designer.
The snap-to-grid feature means your walls align properly without fussing over pixel-perfect placement. Live measurements update as you draw, so you can see instantly whether your sofa fits or whether that kitchen run is too long.
If you want to compare a few free floor plan tools before committing to one, the top DIY room design software guide covers the main options side by side — including browser-based tools that need no software download at all.
For bathroom layouts specifically, the bathroom space planning guide covers the key clearances and dimensions to build into your plan.
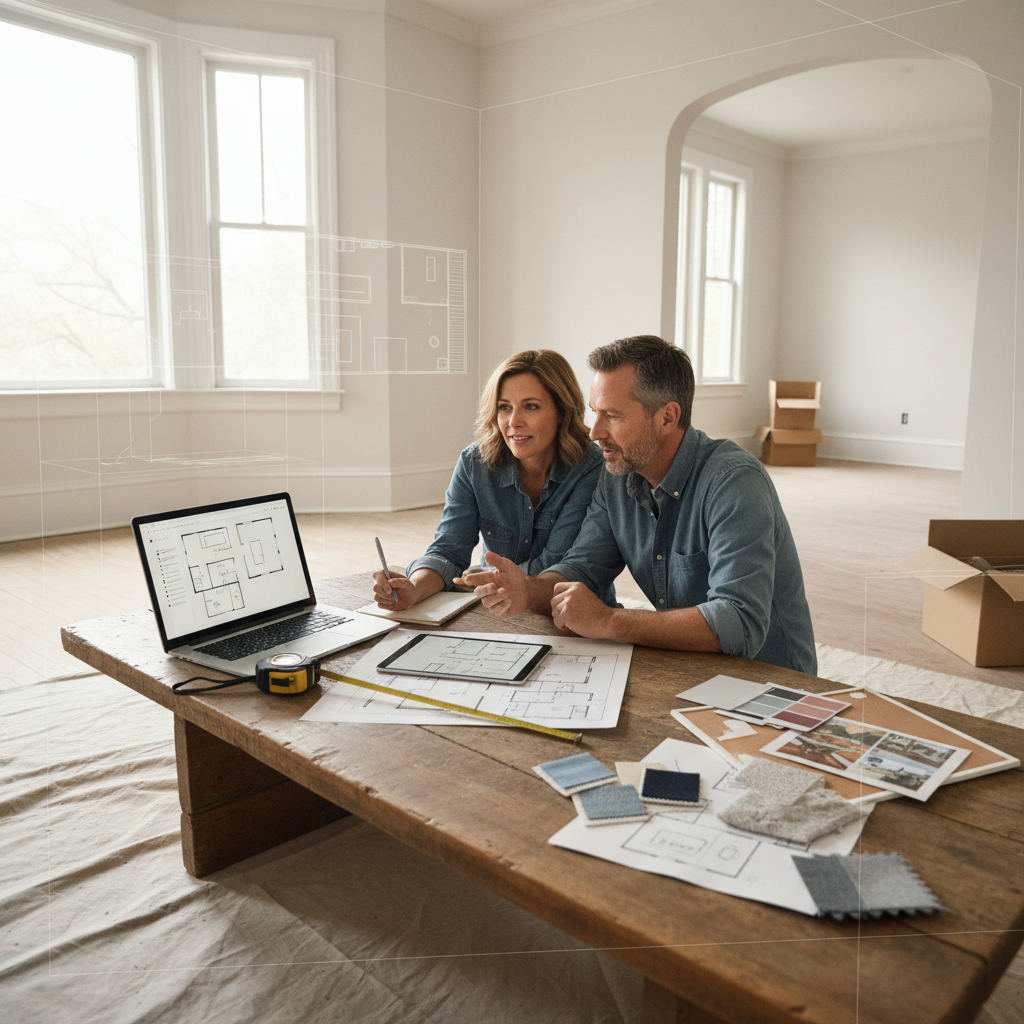
When Your Floor Plan Is Ready: What to Do Next
A finished floor plan does more than one job. Here's how homeowners typically use it:
- Share with a contractor before they visit. They arrive knowing the space — fewer surprises, shorter quotes, fewer return visits.
- Plan furniture placement before you buy. Check whether that sofa or wardrobe actually fits before it's in the room.
- Brief a kitchen or bathroom fitter. Fitters need wall lengths, door positions, and window heights to plan a run of units accurately.
- Get accurate material quotes. Flooring and tiling suppliers need floor area and perimeter lengths — both come straight off your plan.
For room-specific guidance, the online room dimension calculator guide walks through how to calculate floor area, perimeter, and material quantities from the dimensions you've already recorded.
If your project is a kitchen, the kitchen renovation planning guide covers how to take your floor plan from sketch to full project brief.
Conclusion
Measuring your own room accurately isn't complicated — it just needs a method. Sketch first, measure in order, record everything on the sketch, and measure twice. Once you have those numbers, entering them into a free browser-based floor plan tool takes minutes and gives you something genuinely useful to share.
You don't need to hire a designer to reach this stage. You need a tape measure, a pencil, and about an hour. The plan you end up with is accurate enough to brief a contractor, buy furniture with confidence, or start a renovation conversation on the right foot.
Open freeroomplanner.com now, enter the measurements from your sketch, and have a shareable floor plan ready before you make a single phone call.
Frequently Asked Questions
Here are the most common questions homeowners have about measuring and drawing room dimensions themselves.
How accurate do my room measurements need to be for a contractor?
Aim for accuracy within 5mm (about 3/16 of an inch) for walls, doors, and windows. Most contractors and fitters can work with measurements at this level of precision. Recording to the nearest centimetre or half-inch is fine for furniture planning, but built-in units and fitted kitchens need tighter numbers.
Do I need graph paper to sketch a floor plan?
Graph paper helps you keep proportions roughly correct, but plain paper works fine. The sketch is just a reference sheet for labelling measurements — it doesn't need to be to scale. Take a photo of it when you're done as a backup.
Can I measure a room accurately on my own without a second person?
Yes, especially with a laser measurer. With a tape measure, hook the end over a door frame or use a piece of tape to hold one end against the wall while you extend the tape to the other side. For rooms under 4m, most people manage solo without difficulty.
What is the difference between measuring to the skirting board and measuring to the wall?
Skirting boards sit in front of the base of the wall and typically add 10–20mm to a room measurement. Always measure to the bare plaster wall surface behind the skirting, not to the face of the skirting board itself. Furniture and fitted units sit against the wall, not the skirting, so wall-to-wall measurements are the ones that matter.
How do I record measurements for an L-shaped or non-rectangular room?
Break the room into two or more rectangles on your sketch. Measure each rectangle separately — overall length, width, and any offsets — then note how the rectangles connect. A chimney breast, for example, creates two recesses flanking a central projection: measure the full wall, then measure the projection width and depth as a separate rectangle.