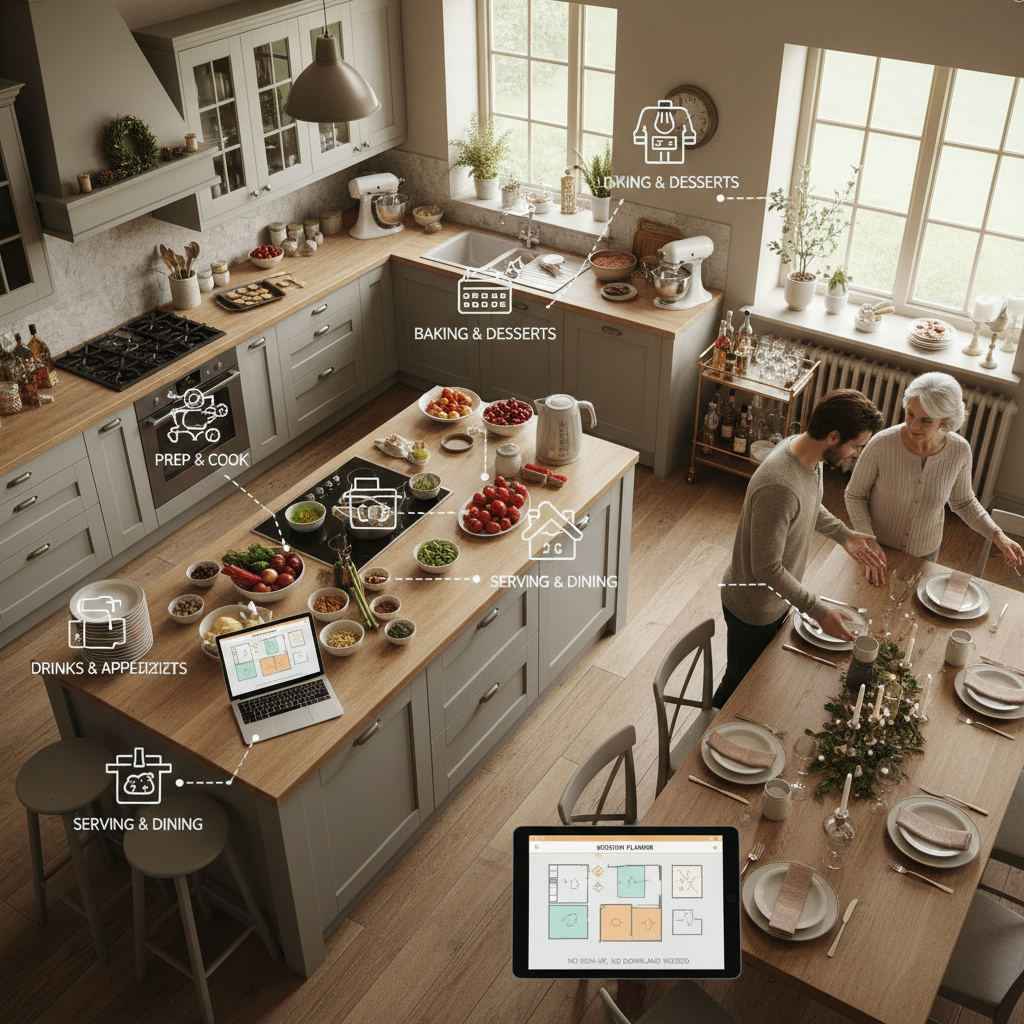
A holiday kitchen layout for entertaining spaces divides your kitchen into five clear functional zones — prep, cooking, serving, drinks, and exit — so multiple people and tasks can coexist without chaos.
By Free Room Planner Team · Last updated: July 2026The moment six people crowd into a kitchen designed for two, something always goes wrong — a hot dish nearly dropped, the fridge door blocked, everyone asking where to put the wine. You don't need a designer to fix this. Open the free kitchen planner at Free Room Planner — no sign-up, no download — and you can map your holiday layout in minutes before the season starts.
TL;DR
- Everyday kitchens bottleneck fast when holiday hosting stacks multiple tasks and people.
- Dividing your kitchen into five zones — prep, cooking, serving, drinks, and a clear exit route — prevents traffic jams and near-misses with hot pans.
- You can test every zone change inside a free browser-based kitchen planner before moving a single piece of furniture.
- Small kitchens have workarounds. A few targeted swaps make a real difference.
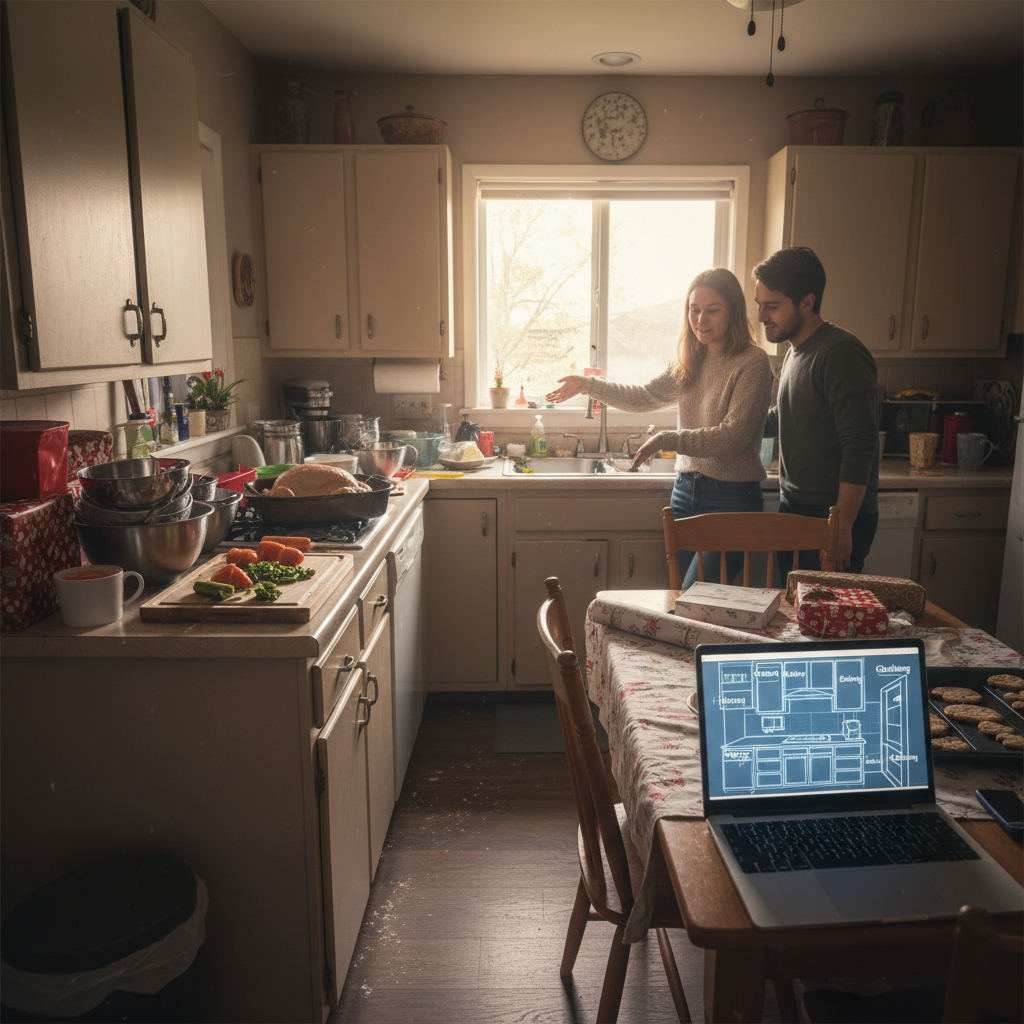
Why Your Everyday Kitchen Layout Fails at Holiday Time
Your kitchen works perfectly well on a Tuesday night. It was built for one or two people moving in a predictable pattern — fridge to counter, counter to hob, hob to table. Holiday hosting breaks that pattern completely.
The Traffic Jam Problem
Add six people to that same space and the pathways that felt fine now feel like rush hour. Someone's pulling a roasting tin from the oven while someone else is reaching for a glass. A third person is blocking the bin with a bag of recycling. Nobody planned for this — and that's exactly the point.
Kitchen pathways need at least 90 cm (about 36 inches) of clearance for a single person to move safely. With two people passing each other, you need closer to 120 cm. Most kitchens have that in one direction. Holiday hosting requires it in every direction.
Prep, Cook, and Serve All Happening at Once
On a regular evening, tasks happen in sequence. During the holidays, they stack. The turkey is roasting while someone chops vegetables, a third person is plating the starter, and a fourth is hunting for a bottle opener. A kitchen with a single work zone forces everyone into the same square metre. Something gets knocked over. Tempers fray before the first course arrives.
The fix isn't a bigger kitchen — it's a smarter layout. And the fastest way to test one is to draw it.
The 5 Zones Every Holiday Kitchen Needs
Think of your kitchen as five distinct stations rather than one shared surface. Each zone has a job. When the zones don't overlap, the people using them don't either.
Zone 1 — Dedicated Prep Area
Keep your prep zone away from the oven and hob. Ideally, it sits at a counter or island with direct access to the sink. The practical test: can you fit a large chopping board and a mixing bowl side by side? If not, that counter is too small to anchor your prep zone. Inside the planner, measure that counter surface and you'll know immediately.
Zone 2 — Cooking Station with a Clear Radius
The industry-standard recommendation from kitchen planning bodies, including the National Kitchen and Bath Association (NKBA), is a minimum 90 cm (36 inch) clearance arc in front of your oven and hob. That gives one person enough room to crouch, pivot, and carry a hot dish without anyone walking into them. Check this clearance in the planner using the live measurement tool — it's one of the most common holiday kitchen hazards that never gets spotted until it's too late.
Zone 3 — Serving and Plating Surface
Every hot dish needs somewhere to land between the oven and the table. Without a dedicated flat surface near the oven exit path, plates end up on the hob cover, the edge of the sink, or the floor. A rolling cart works well here if counter space is tight. An island extension is even better. The goal is a surface that's out of the cooking zone but close enough to plate up quickly.
Zone 4 — Self-Serve Drinks Station
This one move saves more holiday kitchen chaos than any other. Move the kettle, wine, glasses, and a bottle opener to a separate counter or side table — somewhere guests can reach without entering the cooking area. Guests love having a job to do. Giving them a self-serve drinks zone keeps them engaged and keeps them out of your way at the same time. In the planner, add a small table or trolley element to map exactly where this lands.
Zone 5 — A Clear Path Out
Every holiday kitchen needs one unobstructed route from the cooking area to the dining space. Draw this path in the planner and check nothing blocks it — not a bar stool, not a folding table, not a pet bed. This is the line that hot food travels along multiple times an hour. It must stay clear.
Once you've read through all five zones, map your layout free at Free Room Planner — draw your existing kitchen and test where each zone can sit before rearranging anything in real life.
How to Map Your Holiday Kitchen Layout in Minutes
You don't need free floor plan software with a steep learning curve. This takes five steps and no design experience.
Step 1 — Draw Your Room Outline
Open the free kitchen planner — no sign-up, no download needed. Enter your room dimensions and use the snap-to-grid feature to get an accurate shell. Every wall locks to a 10 cm grid, so the measurements you work with are actually reliable. If you need guidance on measuring your kitchen accurately before you start, the guide on how to plan a kitchen renovation walks through the process clearly.
Measure twice tip: Before you open the planner, measure your kitchen's longest wall, shortest wall, and the depth of any peninsula or island. Write these down. Having real numbers makes the digital plan immediately usable — and stops you discovering problems on the day of the party rather than the day you're drawing.
Step 2 — Place Existing Fixtures and Appliances
Add your oven, hob, fridge, and sink in their current positions. This gives you the real footprint you're working with — not an idealised version. Most layout problems become obvious the moment you see everything drawn to scale.
Step 3 — Label and Test the Five Zones
Overlay the five zones from the section above onto your plan. Which zones are missing? Which ones overlap? This is the core diagnostic step. A prep zone that shares space with the cooking station is a noise alarm in the middle of the holiday meal. Seeing it on screen lets you fix it on screen.
Step 4 — Move Furniture and Test Traffic Flow
This is where the planner earns its keep. Drag the island to a new position. Add a temporary table for the drinks station. Remove a bar stool and see how much clearance that opens up. Every change takes seconds on screen. The same change in a real kitchen takes twenty minutes and a bad back.
Step 5 — Export and Share the Plan
When you're happy with the layout, export it as a clean image. Send it to a partner, family member, or anyone helping set up the kitchen before guests arrive. Everyone works from the same plan. No more "I thought we agreed the buffet table went there."
For anyone extending their plan beyond the kitchen — say, mapping the dining room or hallway flow as well — the multi-room floor plan designer handles exactly that.
Quick Fixes for Small Holiday Kitchens
Not every kitchen has room for five fully separate zones. Here's how to get the same result in a compact space:
- Use a trolley as a mobile prep zone. Roll it to wherever the space is and roll it out of the way when you're done.
- Relocate the drinks station entirely. A hallway table or sideboard in the dining room works just as well — and keeps guests out of the kitchen altogether.
- Fold a table over the sink temporarily to extend counter space for plating. Remove it when clean-up starts.
- Stack vertically. A tiered rack on the counter doubles your serving surface without using extra floor space.
- Designate a one-way traffic rule. In a galley kitchen, one end is entry and one end is exit. Stick to it. It sounds rigid — it prevents every near-miss.
Common Holiday Kitchen Layout Mistakes to Skip
These four errors come up repeatedly. Knowing them ahead of time saves the panic of realising mid-service.
- Blocking the oven with a buffet table. It seems logical to set up food near the oven. But it creates a crowd right where you need the most space. Move the buffet to the dining room or hallway instead.
- Putting the drinks station next to the hob. Guests reaching past a hot stovetop for the wine is a recipe for a serious burn. Distance is the only fix.
- Removing the island to create more floor space. This feels like gaining room but actually removes your most valuable prep and serving surface. Work around the island — don't eliminate it.
- Ignoring the fridge door swing. A fridge door that opens into a main pathway blocks that path every time someone reaches for milk or butter. Check the swing direction in your planner before you finalise the layout.
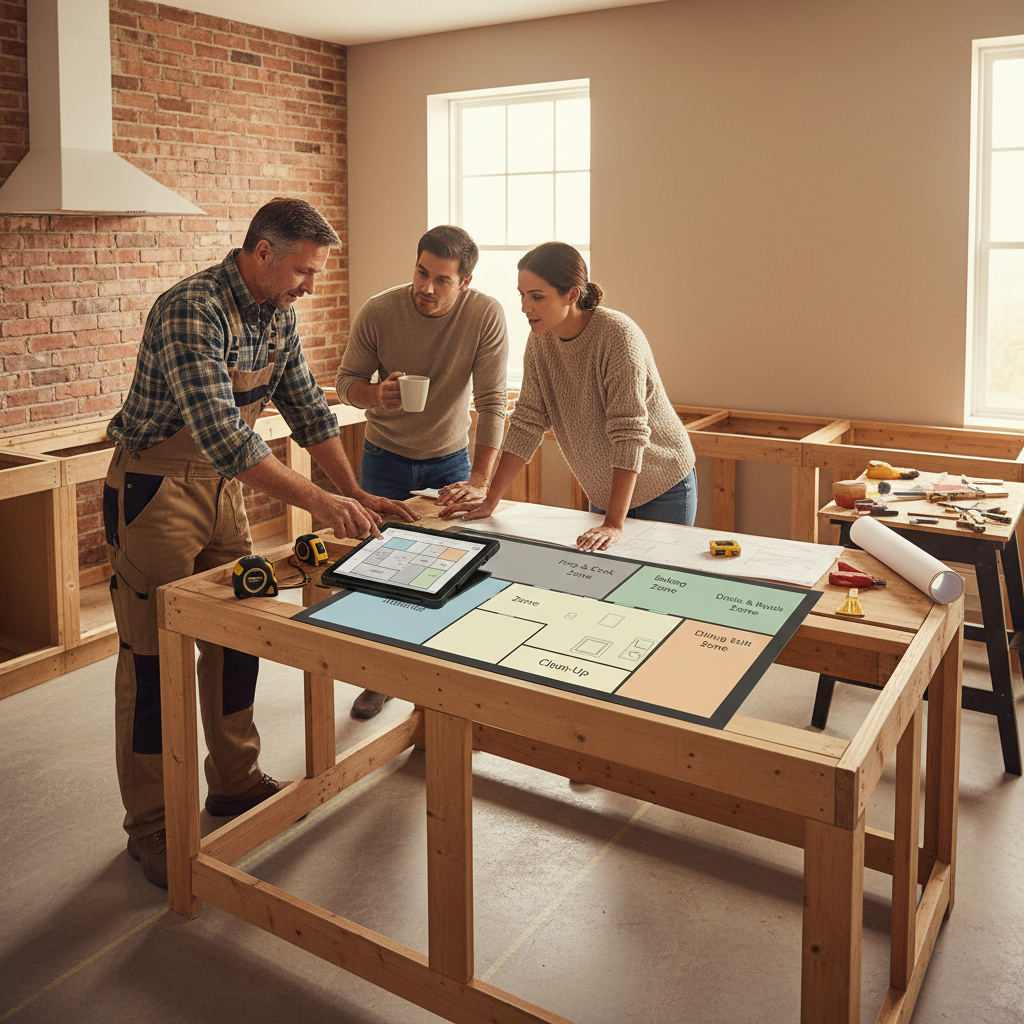
How to Communicate This Layout to Your Contractor
If your kitchen needs a physical change — a new island, repositioned cabinet, or updated counter — the planner export makes briefing a fitter straightforward.
Rather than describing what you want over the phone, share a clean floor plan image with real dimensions already marked. Your contractor sees the exact measurements, the zone positions, and the clearance distances you're working to. That removes the most common source of renovation miscommunication: two people imagining different things from the same conversation.
If you're considering a more permanent layout change, the guide on how to picture your room layout before renovating covers the same principle for adjacent spaces — useful if the holiday season is prompting a wider rethink.
Frequently Asked Questions
Here are the questions homeowners most often ask when planning a kitchen layout for holiday entertaining.
What is the minimum clearance needed around a kitchen oven for safe holiday use?
The National Kitchen and Bath Association (NKBA) recommends a minimum 90 cm (36 inch) clearance in front of your oven and hob. This gives one person room to manoeuvre with hot dishes safely. When two people need to pass each other in the same zone, 120 cm is the practical target. Check this distance using the live measurement tool in any accurate kitchen planner before your guests arrive.
How many zones should a holiday kitchen have?
A holiday kitchen works best with five distinct zones: a prep area, a cooking station, a serving surface, a self-serve drinks station, and a clear exit path to the dining area. Each zone gives different tasks and different people their own space, which prevents the bottlenecks that make holiday cooking stressful.
Can I plan a holiday kitchen layout without hiring a designer?
Yes. A browser-based kitchen planner — one that requires no sign-up, no download, and no payment — lets you draw your room to scale, place appliances and furniture, and test zone arrangements in minutes. The key is working with your actual room dimensions rather than guessing. Measure your walls and key fixtures first, then draw them accurately in the planner.
What is the best layout for a small kitchen during holiday entertaining?
For compact kitchens, the priority is relocating the drinks station out of the kitchen entirely — to a hallway table or sideboard — so guests don't crowd the cooking area. A mobile trolley adds flexible prep or serving space without permanently reducing floor area. A strict one-way traffic rule (one end of the kitchen is entry, the other is exit) prevents the collisions that happen most often in galley-style layouts.
How do I share my kitchen layout plan with family or a contractor?
Once you've drawn and tested your layout, export it as a clean PNG image from the planner. Share it by message, email, or a group chat so everyone working in the kitchen is looking at the same plan. Contractors benefit from seeing real dimensions already drawn to scale — it removes the ambiguity that leads to costly mistakes on renovation day.
Plan It Now, Host It Better
A holiday kitchen works when it's divided into clear zones with unobstructed paths. The fastest way to test that is on screen before the season starts — not in the middle of carrying a hot dish with six people behind you.
Try the free kitchen planner now — no sign-up needed. Draw your kitchen, test the five zones, and export your plan to share with whoever's helping you host. It takes five minutes. The alternative is finding the problems on the day.
Ready to go further? The guide on how to plan a kitchen renovation covers permanent layout changes in detail. And if you're planning multiple rooms for the holidays, the multi-room floor plan designer lets you map the whole space in one view.